-
I used Rhino works for this project as I find it much easier to navigate, cross check and change dimensions
-
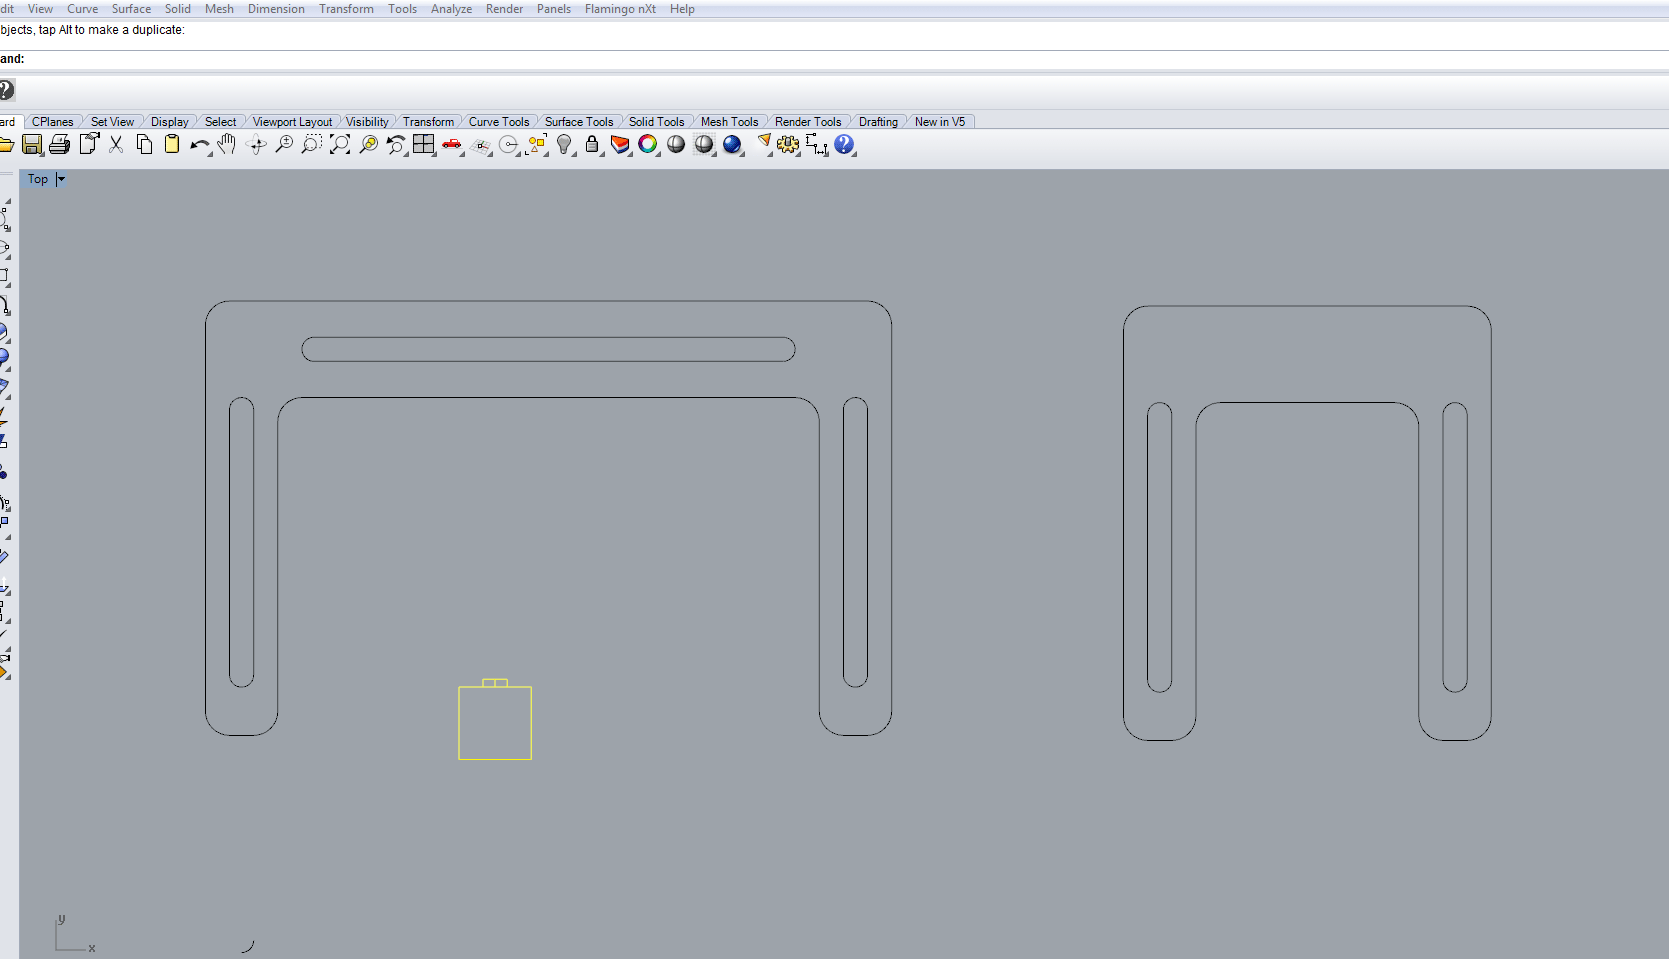
as this is part of my final project, I want to achieve a snap-fit model. I am using 16mm MDF (Super wood) as this is a really cheap wood and we have quite a bit of stock of this. This was my first version and immediately I ran into sum design flaws:
-
the arms on the part are too long and therefore will break
-
the spacing to hold the legs is to small ( initially made it 16mm then changed it to 17.5mm as a sheet of wood is irregular in thicknesses)
-
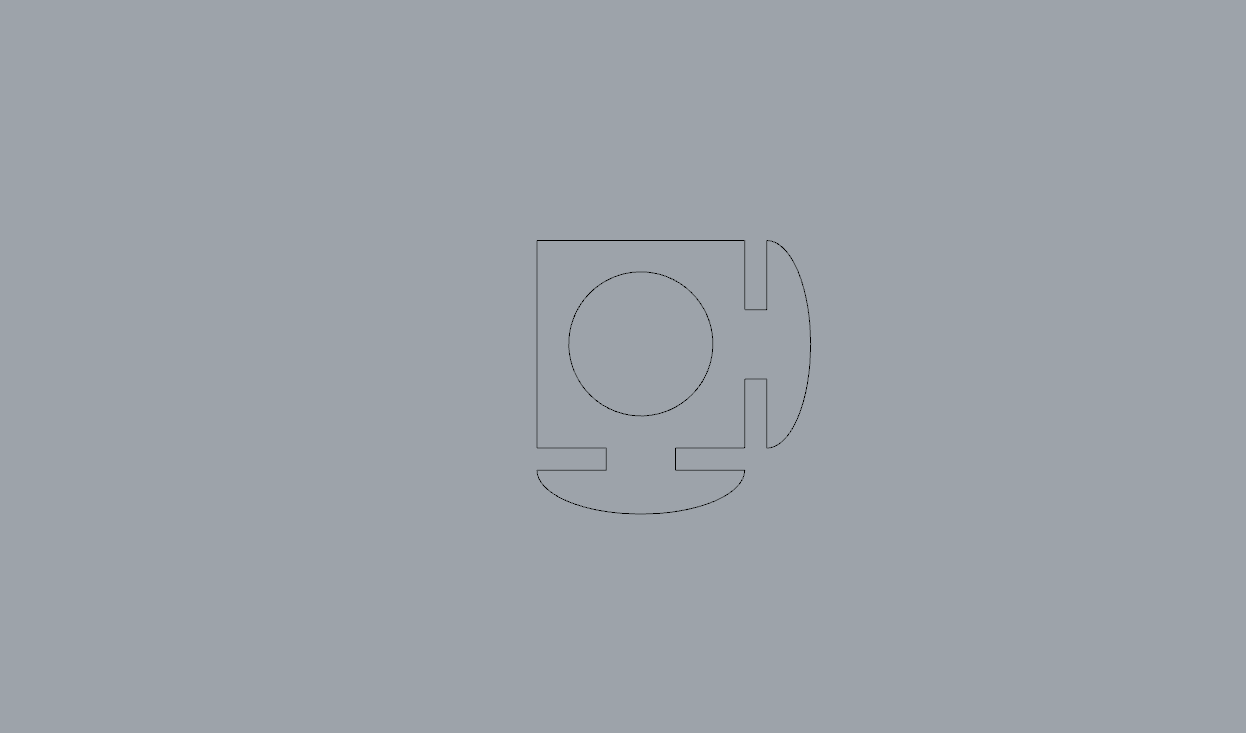
Second profile
-
I don’t like the angular profiles of this design, although it does work functionally/time to incorporate the first and second design into a final one
-
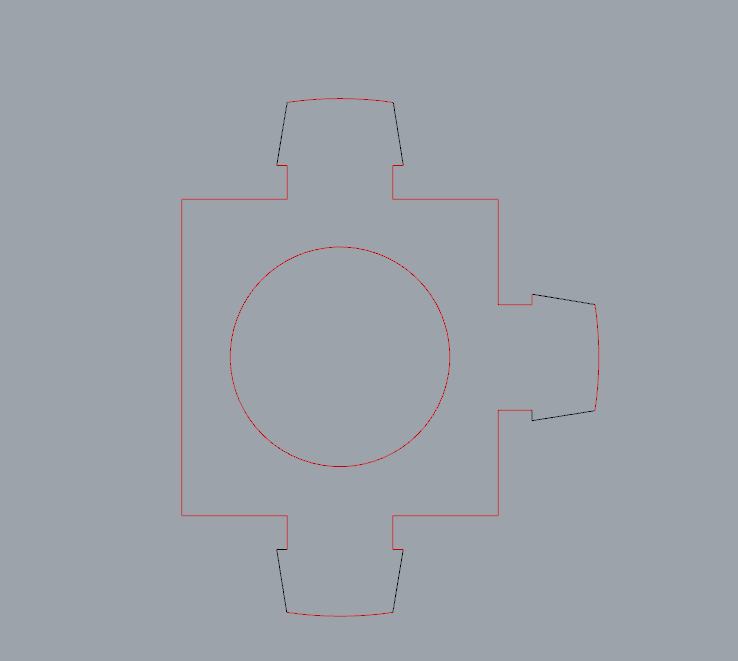
- New designed profile which will work with my design
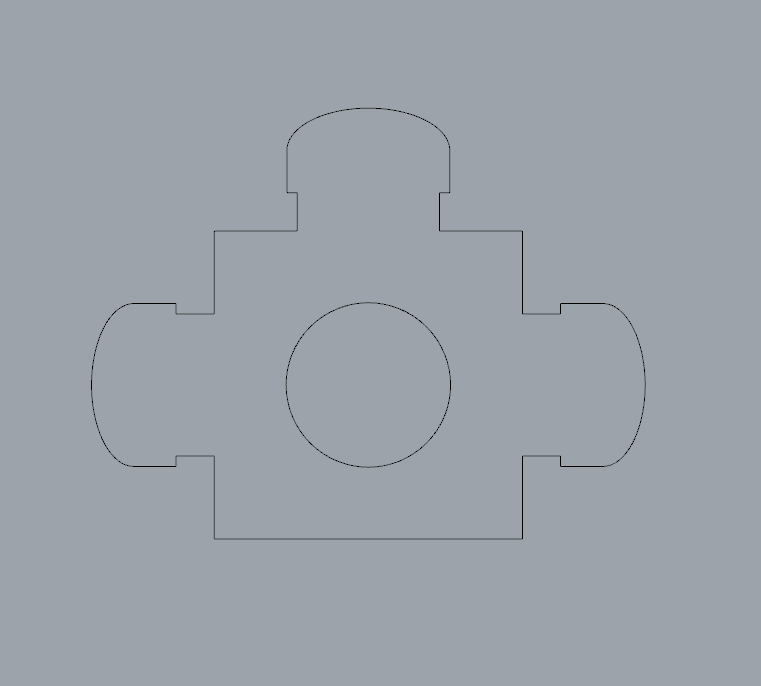
- On the table legs I added notches to enable me to assemble it easier
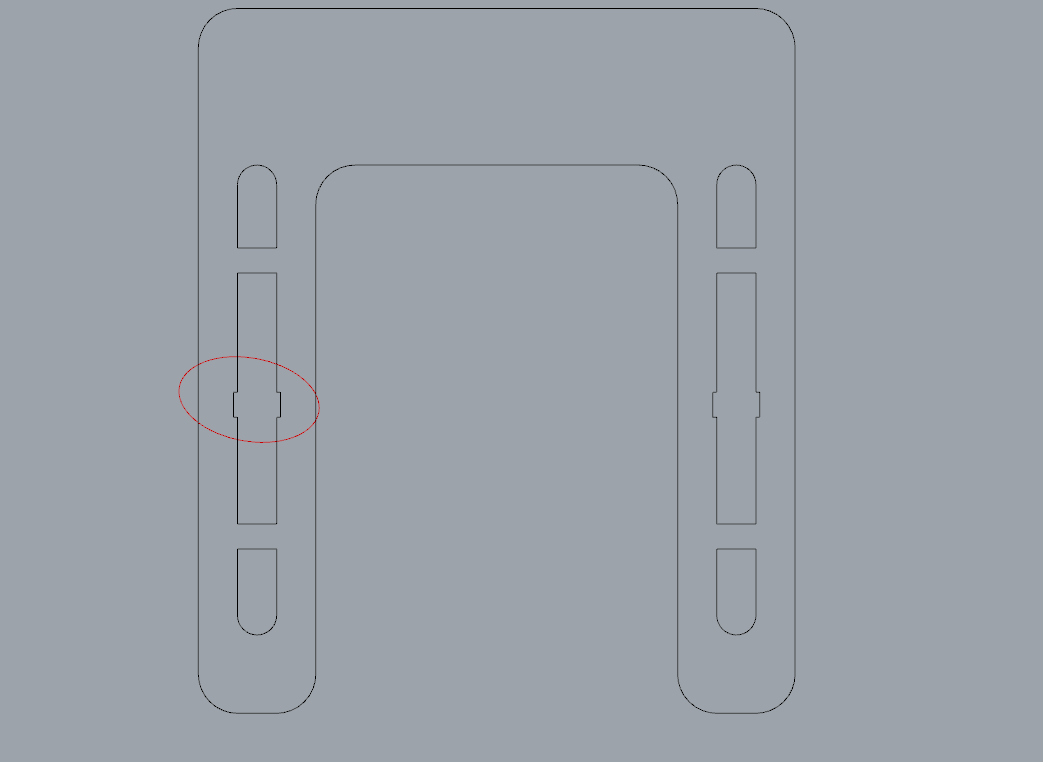
- The dimensions I used are based on the study of the human body (Ergonomics) the following links should help with this.
https://en.wikipedia.org/wiki/Human_factors_and_ergonomics
http://www.chasemassagetherapy.com/blog/ergonomics -
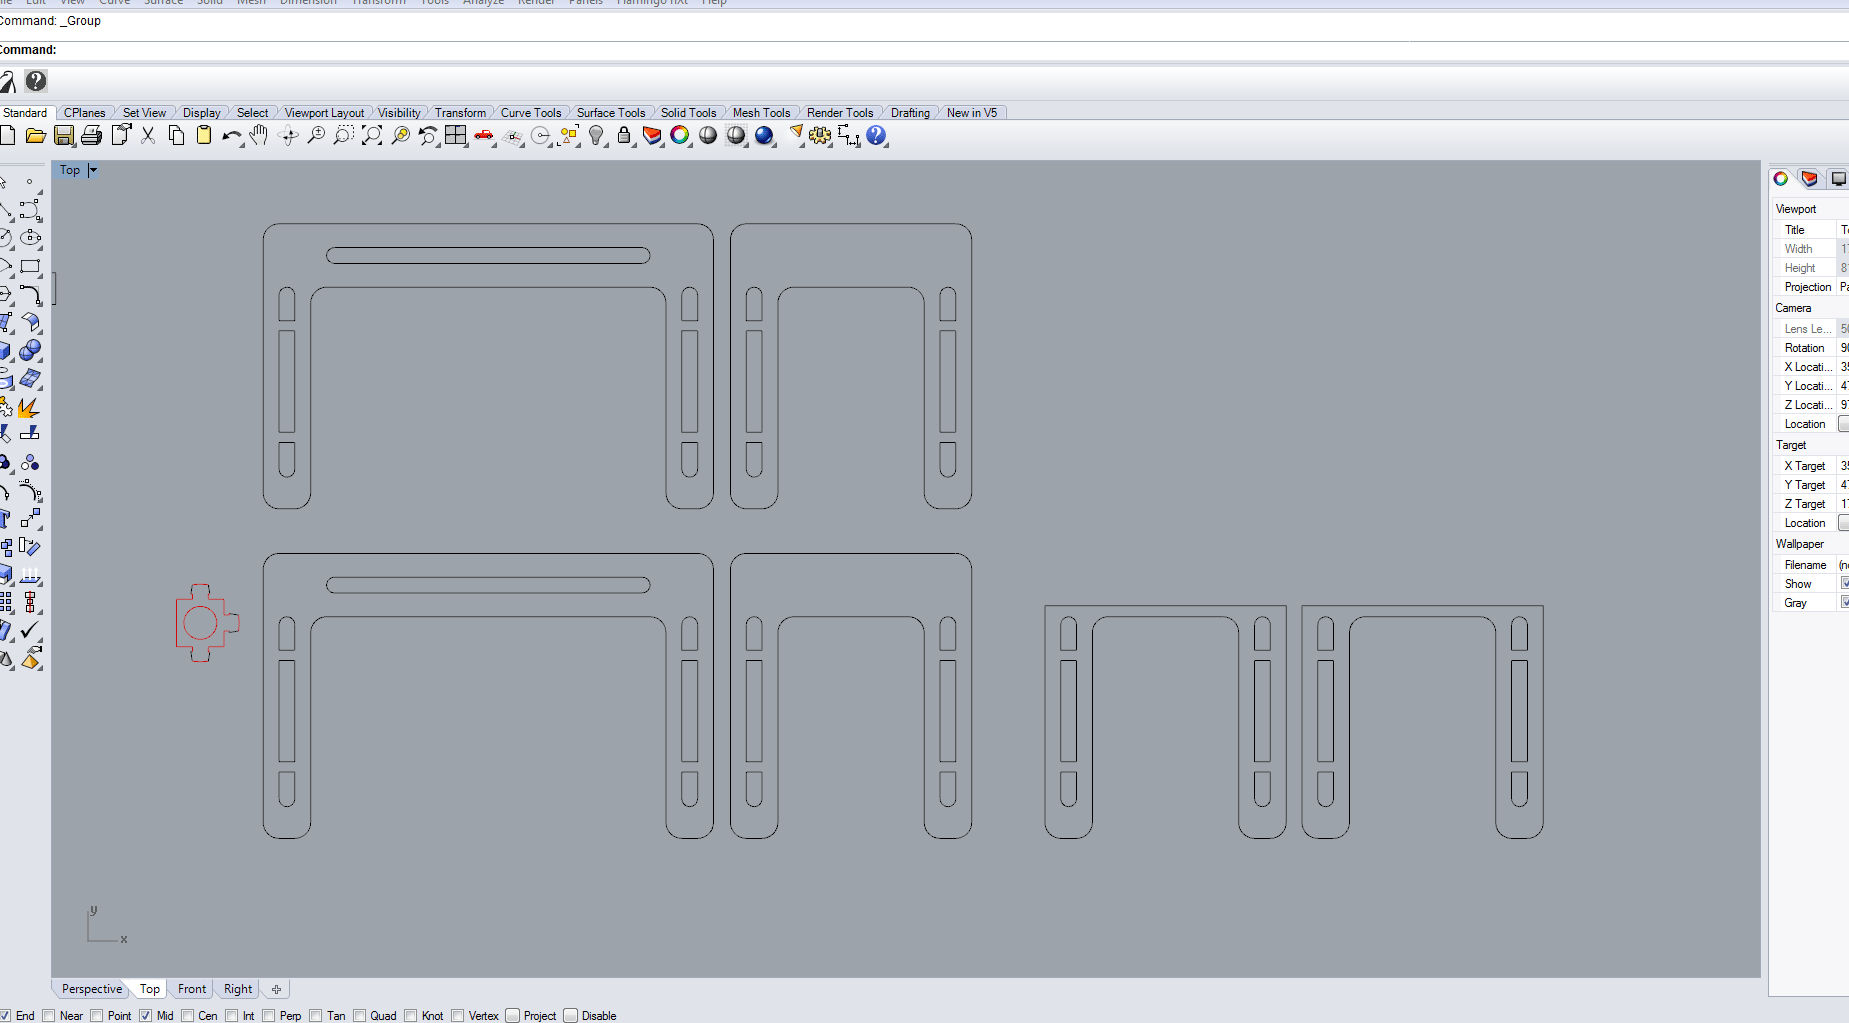
- Cutting list, it is important to plan your list to minimize waste (I added sum other components for a other project to fill all material)
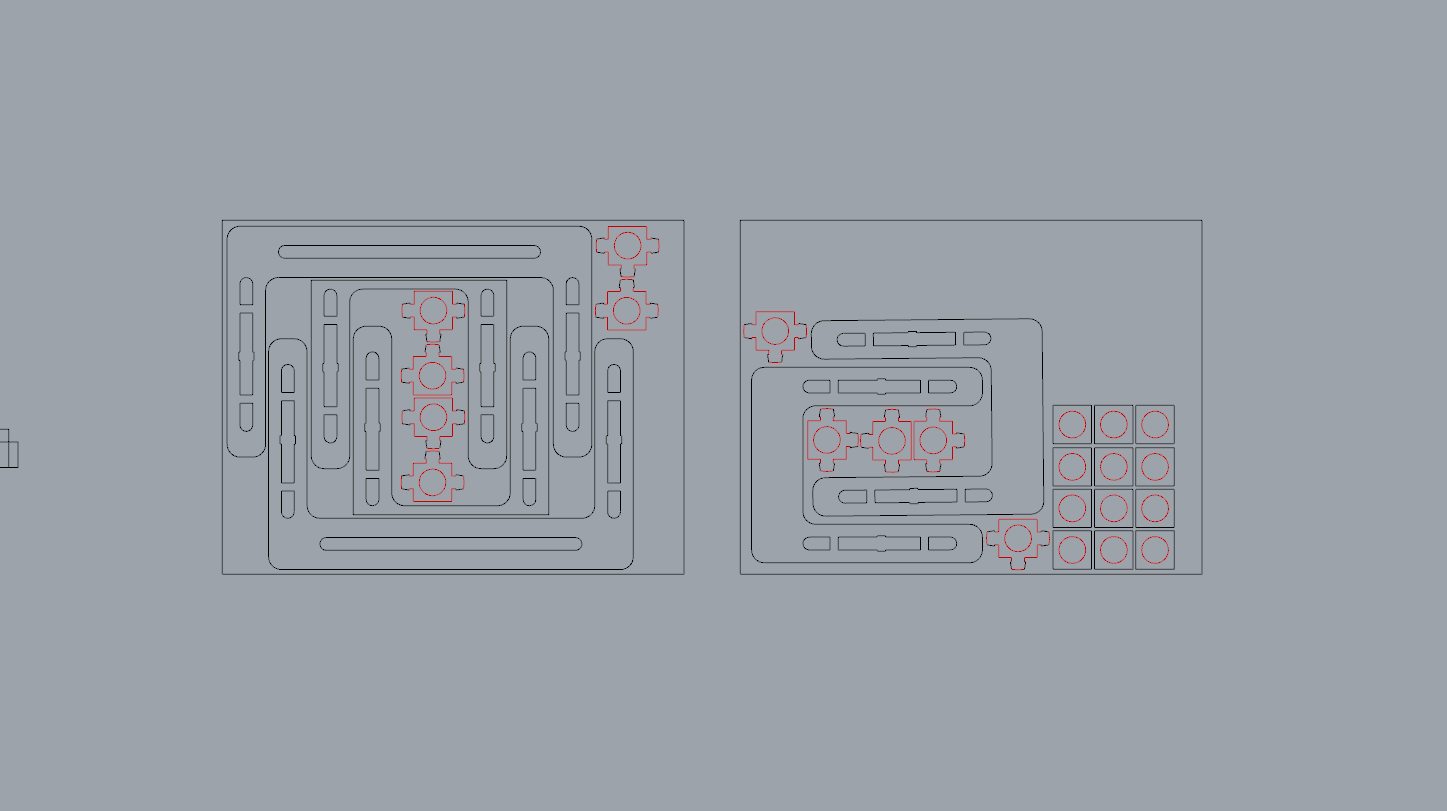
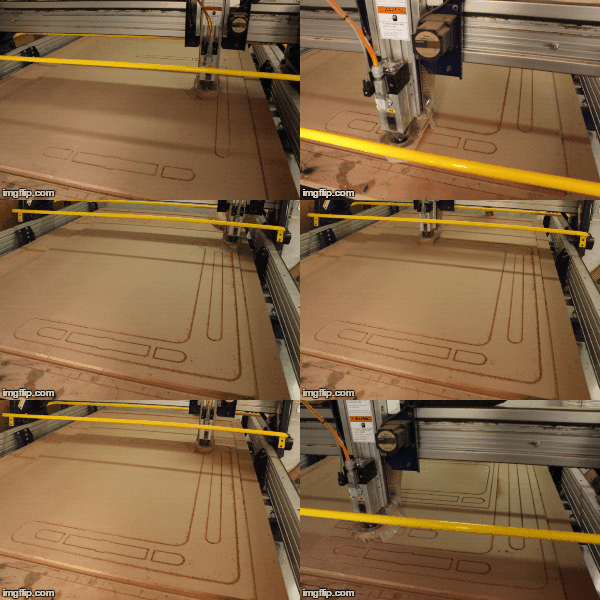
- Time to start cutting (Machine: Shopbot PRS ALPHA 96 with a 6mm DIA bit)
- Assembly was rather difficult as there are three parts to a leg and fitting the holders was rather tedious.
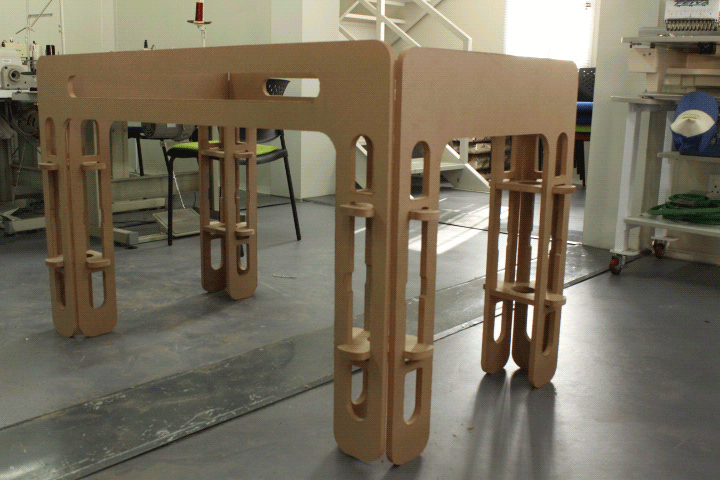
- Holders have a very tight fit; I would recommend making the spacing a bit larger, just enough to hold the three parts together.
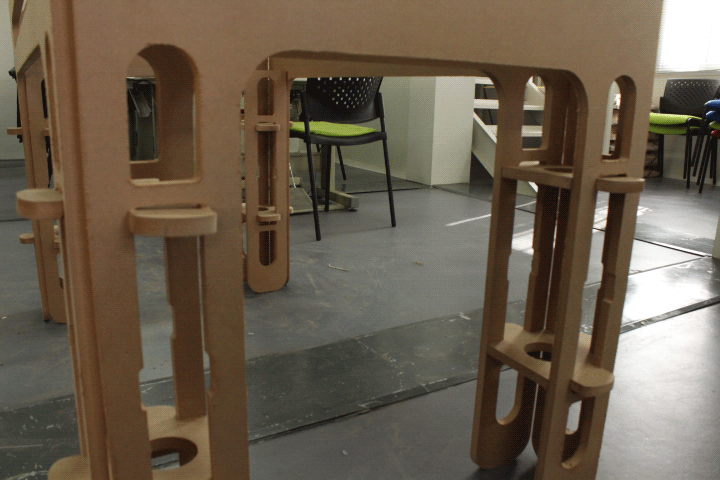
- Leg with support for the foosball bed to lie on (I’m planning to make the bed in the composites section).
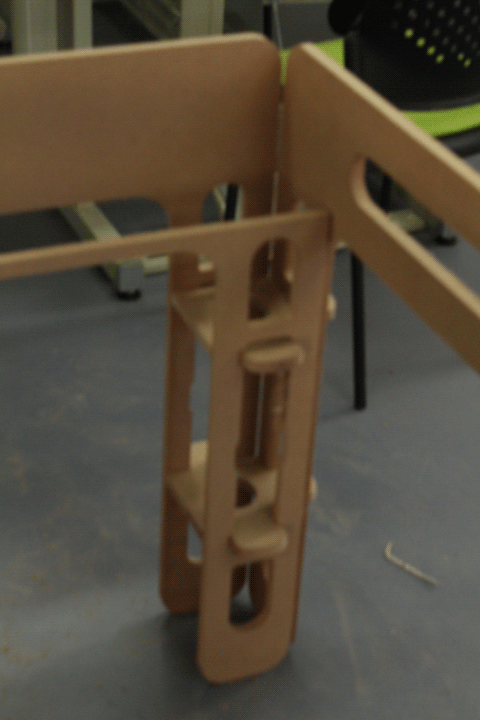 Finished main part of my foosball table
-
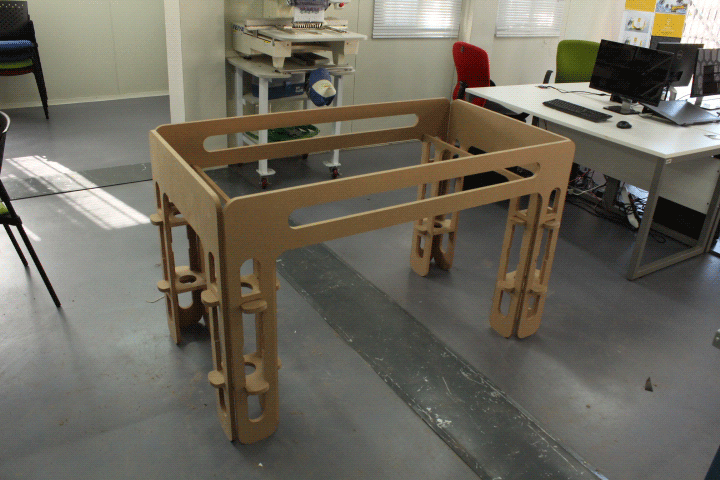
otherIssues I had and am still having
-
The Pieces did not fit 100% and it made me have to either re-cut everything and create dog bones in the V-carve at all my joints. This I did not have time for so I redesigned my plans and parts and will re-cut once time allows.
Here are the steps of creating dog bones: In the v-carve program you select fillets, select dog bone and then enter the diameter of the Bit your using.
.gif)
- It will then look like this picture below. At every joint I added these bones to make assembly much easier.

Downloads
